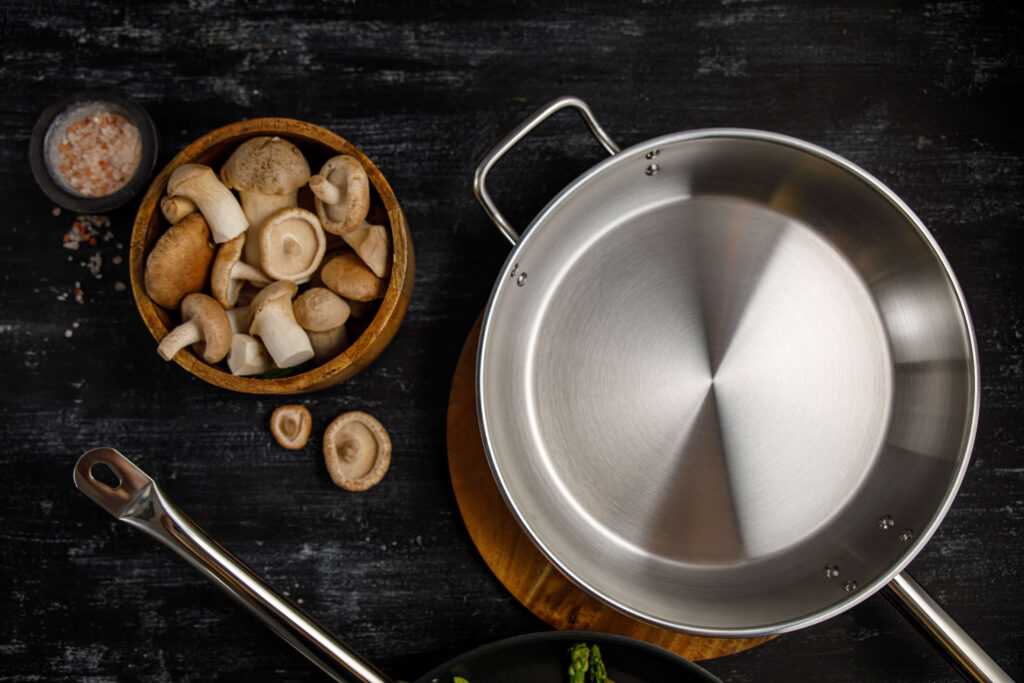
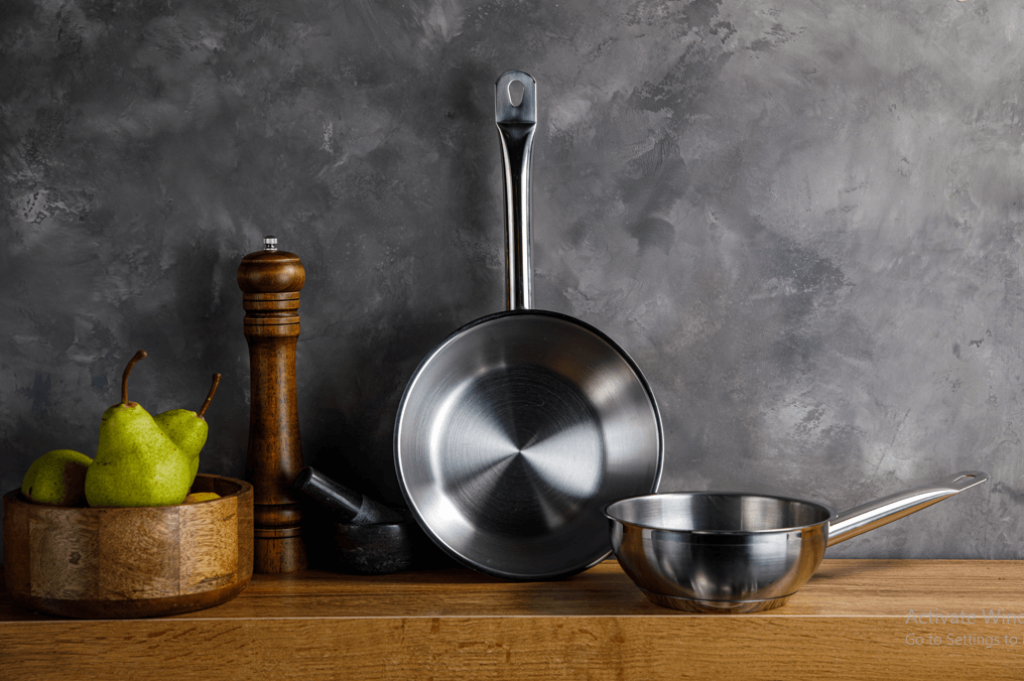
A perfectly seasoned stainless steel pan can significantly enhance your cooking ability. If you’ve ever wondered, “How to season stainless steel pan?” – you’re in the right place. The seasoning process isn’t just for cast-iron cookware. It’s also for stainless steel cookware. In addition to transforming the surface of your pan, this ritual revolutionizes how you cook and eat.
Seasoning a stainless steel pan is more than just a hack; it’s a culinary art form. It gives your pan a non-stick quality, improves its durability, and gives it a unique flavor profile. This guide will walk you through the steps to get the perfect seasoned surface on your stainless steel pan, elevating your cooking experience. Let’s get started.
Do You Need to Season Stainless Steel Pan?

Stainless steel cookware is renowned for its durability, corrosion resistance, and polished appearance. However, unlike cast-iron pans, stainless steel pans don’t come pre-seasoned. In light of this, a common question arises: Do stainless steel pans need to be seasoned?
There is no absolute necessity to season a stainless steel pan. As a non-reactive material, stainless steel does not absorb flavors or retain oils like cast iron. Seasoning, however, can enhance the appliance’s performance and make cooking more enjoyable.
Benefits of Seasoning a Stainless Steel Pan:
- Improved Non-Stick Properties: Stainless steel is naturally stick-resistant, but seasoning can enhance this quality. Cooking and cleaning become easier when a pan is correctly seasoned.
- Enhanced Heat Distribution: Seasoning makes the pan’s surface more even and consistent, improving heat distribution. It is particularly beneficial for achieving a well-cooked result that is precise.
- Adds Flavor and Depth: Seasoning creates a layer on the pan’s surface that can enhance the taste and depth of your dishes.
- Prevents Discoloration and Staining: Well-seasoned pans are less likely to discolor or stain over time.
How to Season Stainless Steel Pan: Step-by-Step Guide
Here are the steps to effortlessly season your stainless steel pan.
1. Clean and Dry Your Pan Thoroughly
Cleaning and drying your stainless steel pan are the first steps in seasoning it. A spotless surface for seasoning is crucial so the oil sticks evenly and forms a solid foundation.
Clean the pan thoroughly by washing it in warm, soapy water and wiping it down with a soft sponge or dishcloth. After rinsing the pan diligently, remove any traces of soap. With a clean towel, gently pat the pan dry once it has been cleaned.
Air-drying the pan is ultimately crucial for a successful seasoning process. This step prevents water spots during seasoning and ensures an even oil application.
Related: How to Clean Stainless Steel Pan
2. Oil Your Pan
After cleaning and drying your stainless steel pan, apply a thin layer of oil evenly to its surface. You need to choose the right oil for seasoning, since it’s not only going to create a non-stick surface but will also add flavor and last longer.
Ensure you use oils with high smoke points, like vegetable, canola, grapeseed, or flaxseed oils. Avoid olive oil or butter for seasoning since they have lower smoke points and can leave a sticky or gummy residue.
Spread a thin layer of oil over the pan’s surface with a paper towel or cloth, just enough to coat the entire surface. The aim is to create a very thin, uniform layer of oil.
3. Heat Your Pan at a Specific Temperature
After thinly oiling your stainless steel pan, it’s time to heat it to a specific temperature. By doing this, the oil goes through a chemical transformation, bonding with the pan’s surface and making it non-stick.
Heat the oiled pan over medium heat. Gradually and evenly heat the pan to 300 to 400 degrees Fahrenheit (150 to 200 degrees Celsius). This range is ideal for most oils used in seasoning, enabling them to polymerize effectively.
Monitor the pan closely, ensuring that the oil is thoroughly heated without smoking. The oil will develop a slightly glossy appearance as it bonds with the pan’s surface.
4. Allow Your Pan to Cool Completely
The next step in seasoning the pan is letting it cool completely after it has been heated. A slow, thorough cool down ensures the seasoning layer sticks to the surface, enhancing the pan’s non-stick properties.
Remove the pan from the stove and turn off the heat. Please place it in a heat-resistant area where it can cool undisturbed.
Let the pan cool naturally to room temperature. Do not expose it to a fan or cold water to hasten the cooling process, as this abrupt temperature change can compromise the seasoning.
5. Wiping off Excess Oil
Remove excess oil from the pan’s surface after your seasoned stainless steel pan cools to room temperature. It keeps the seasoning layer thin and uniform on the pan so it doesn’t get sticky or uneven.
Wipe the pan’s surface with a clean paper towel or cloth to remove any lingering oil. Leave a thin, barely visible layer of seasoning behind. It should feel smooth when you touch it.
Ensure there’s no oil residue in the nooks and crannies of the pan.
6. Repeat the Process When Necessary
Maintaining the condition of your stainless steel pan is an ongoing task. Depending on the usage and condition of the seasoning, you might have to repeat the seasoning process periodically.
Keep an eye on your pan’s surface. When you notice food sticking or the pan losing its non-stick quality, it’s time to re-season.
Follow the steps outlined previously to re-season your pan, starting with cleaning and drying it well. Repeat the oiling, heating, cooling, and wiping off excess oil to ensure the seasoning layer stays even.
How Often to Season Stainless Steel Pan

It depends on your usage patterns, what you prepare, and how diligently you maintain your pan that determines the appropriate frequency for seasoning. For a new pan, seasoning provides the foundational seasoning layer before use.
In addition, it’s an excellent idea to re-season the pan after deep cleaning to replenish the seasoning.
For regular maintenance, a common approach is to season the stainless steel pan every 3 to 6 months. In addition to extending the lifetime of the non-stick surface, routine maintenance prevents food from sticking.
If you cook frequently at high temperatures or use your pan extensively, you might need to season it every 2 to 3 months. High temperatures can cause the seasoning layer to wear down faster.
Best Oil for Seasoning Stainless Steel Pan
It’s best to use a high smoke point oil for seasoning stainless steel pans because it polymerizes effectively to make them non-stick. Here are some great options for seasoning stainless steel:
1. Flaxseed Oil
- Smoke Point: 225°F (107°C)
- Although flaxseed oil has a low smoke point, it’s popular for seasoning because it’s high in omega-3 fatty acids and has excellent polymerization properties.
2. Grapeseed Oil
- Smoke Point: 420°F (216°C)
- Grapeseed oil is a popular choice for seasoning due to its high smoke point and ability to create an excellent seasoning layer on the pan.
3. Canola Oil
- Smoke Point: 400°F (204°C)
- Canola oil has a moderate smoke point and can create a decent seasoning layer. It’s readily available and budget-friendly.
4. Vegetable Oil
- Smoke Point: 400°F (204°C) or higher
- Vegetable oils are popular for seasoning due to their high smoke point and polymerization ability.
5. Peanut Oil
- Smoke Point: 450°F (232°C)
- As peanut oil has a high smoke point, it is suitable for seasoning stainless steel pans, providing a durable seasoning layer.
How Do you Keep Stainless Steel Pans from Sticking
Heat distribution and durability make stainless steel pans great, but sticking can sometimes be problematic. When you use the proper techniques and practices, you’ll have a smooth cooking experience. How to do it:
- Before adding any oil or food, let your stainless steel pan fully preheat. Properly preheating a pan reduces the chances of food sticking by creating a natural, non-stick surface.
- Apply a thin, even layer of oil to the preheated pan. As a result, the oil fills in the microscopic imperfections on the pan’s surface, reducing sticking.
- Keep an eye on the cooking temperature and control it. Overheating a pan can cause food to stick, especially if it isn’t adequately preheated.
- Allow food to be released from the pan naturally. Cooked or seared food will naturally release from its surface when adequately seared.
- You should avoid overcrowding the pan as it can trap moisture and steam, causing the food to stick. If necessary, cook in batches.
- Lift and turn food gently with a spatula. Don’t use metal utensils that can scratch the pan’s surface, causing food to stick.
- Deglaze the pan with liquid (e.g., wine, broth) after cooking to release stuck-on bits. It enhances the flavors and makes the pan easier to clean.
- You should clean the pan after each use to prevent residue from building up. Avoid using abrasive scrubbers and mild detergents.
With these techniques, you can ensure a hassle-free cooking experience by maintaining a well-seasoned stainless steel pan.
Read More: How to Make a Stainless Steel Pan Non-Stick
The Takeaway
That’s all from today’s round-up on how to season stainless steel pan. You can elevate your cooking experience by mastering seasoning stainless steel pans. Using a simple yet precise process, you can turn your pan into a non-stick cooking marvel by cleaning, oiling, and heating it. Maintaining this seasoned surface is equally important.
Seasoning and proper care not only enhance performance but also extend the life of your pan. Get rid of food sticking and enjoy effortless cooking. A well-seasoned stainless steel pan prepares you for culinary success and a delightful cooking experience.
Looking to organize your stainless steel pans and pots on kitchen cabinets, then check the new post on How to Organize Kitchen Cabinets.


